Essential Tools for Installing a Home Security Safe
Today’s chosen theme: Essential Tools for Installing a Home Security Safe. Equip yourself with the right gear, a clear plan, and confidence. We’ll turn careful prep and smart tool choices into a safe that’s rock-solid and ready. Like tool-focused guides? Subscribe and drop your questions—we love helping real installs succeed.
Anchoring That Resists Pry Attacks
01
Wedge Anchors, Sleeve Anchors, and Lag Screws
Use wedge anchors for solid concrete when maximum pull-out strength matters. Sleeve anchors excel in varied masonry. For wood framing or subfloor anchoring, high-quality lag screws bite deep. Follow embedment depth and edge distance guidelines to avoid cracking and ensure dependable security performance.
02
Torque Wrench or Socket Set for Proper Clamping
A calibrated torque wrench ensures anchors are tightened to specification, preventing under-clamping or thread damage. A sturdy socket set with extensions helps access tight corners inside the safe base. Consistent torque improves security, reduces loosening from vibration, and preserves anchor life under stress.
03
Thread Locker, Security Washers, and Anti-Tamper Caps
Medium-strength thread locker resists vibration loosening without making future service impossible. Serrated or lock washers add bite against base plates. Anti-tamper bolt caps or security cover plates conceal fasteners, complicating attacks and encouraging thieves to move on rather than pry at your hardware.
Stud Finder with Deep Scan and Magnetic Backup
A quality stud finder with deep scan locates studs behind drywall, even through thicker finishes. A magnetic finder confirms with screw heads or nails. Cross-verify both to reduce false positives, then mark edges and centerlines so your fasteners land where the structure is strongest.
Borescope and Inspection Mirror for Cavities
A compact borescope peeks into tight cavities to spot obstructions, insulation, or unexpected gaps. Pair it with a small inspection mirror and flashlight to map the space. This quick check prevents drilling into voids where anchors won’t hold, saving time and frustration later.
Rebar/Live-Wire Scanner to Avoid Hidden Hazards
A multi-sensor scanner detects reinforcing steel, copper pipes, and energized wires. Mark detected zones and choose alternate anchor positions before drilling. Avoiding rebar preserves structural integrity, while steering clear of live circuits protects you and your equipment. Safety and planning go hand in hand.
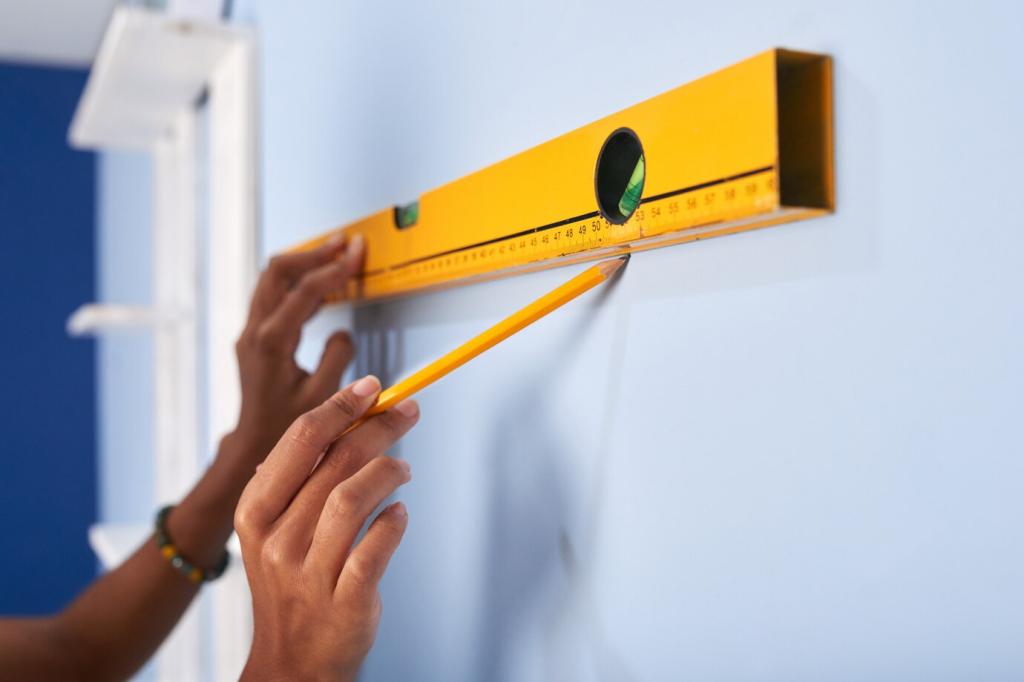
Keep It Level, Square, and Solid
A torpedo level checks plumb and level in tight spaces, while a laser line projects reference across the floor. Non-compressible shims fine-tune the base without wobble. Lock the position before drilling so the safe sits stable and the door clears without rubbing.
Keep It Level, Square, and Solid
Adjustable clamps or a simple bracing jig stop the safe from shifting during pilot drilling. With weighty units, tiny movements misalign holes. A moment spent bracing pays off with cleaner holes, aligned anchors, and a calmer installation experience from start to finish.
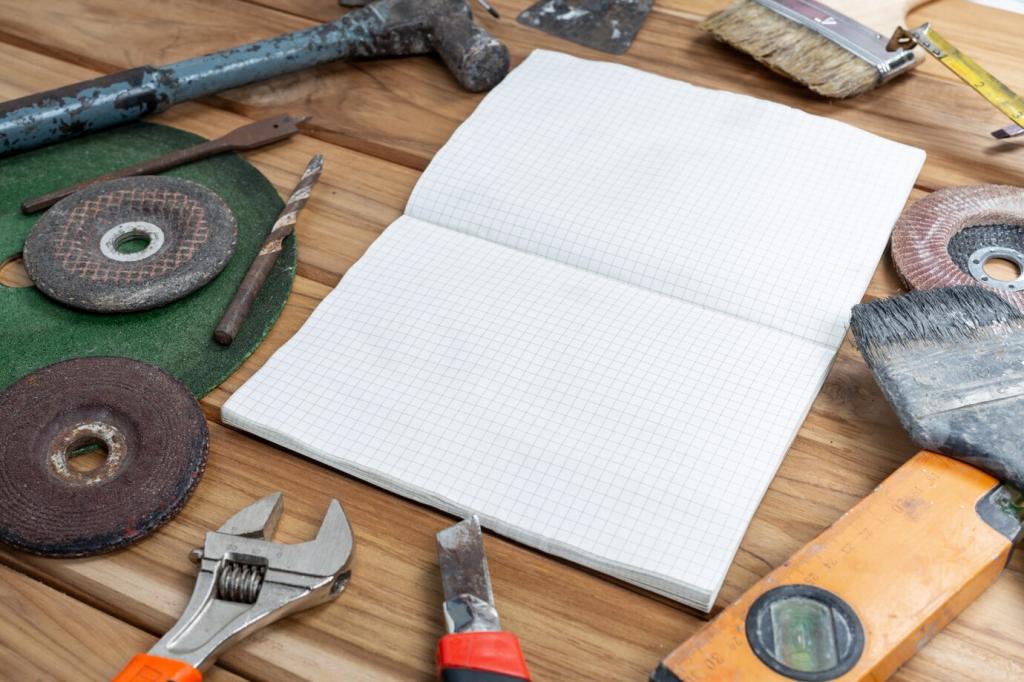
Hand Tools That Save the Day
Socket Set, Ratchet, and Box Wrenches
A well-sized socket set and smooth ratchet tackle anchor nuts in tight corners. Box wrenches offer leverage where sockets cannot fit. Keep metric and SAE on hand, and use six-point sockets on stubborn fasteners to avoid rounding during critical final tightening.
Nut Drivers, Allen Keys, and Bit Holders
Nut drivers speed panel removal and interior access, while Allen keys handle cap screws and specialized safe hardware. Magnetic bit holders keep screws controlled in awkward spaces. These small tools shine when clearance is limited and you want steady, confident control over each turn.
Rubber Mallet and Pry Bar for Micro Adjustments
A rubber mallet nudges the safe without marring finishes, ideal for minor alignment before drilling. A small pry bar helps adjust shim placement or lift corners gently. Used carefully, these tools transform near-perfect placement into spot-on positioning before anchors lock everything down.
Final Checks and Community Tips
Open and close the door through full travel, verifying bolt throw, gasket contact, and handle resistance. Ensure nothing binds after torqueing. Check shelves and lighting if included. A calm, thorough functional test confirms your tools delivered a secure, smooth result.